Guide for computers running Windows 10 run by UiO.
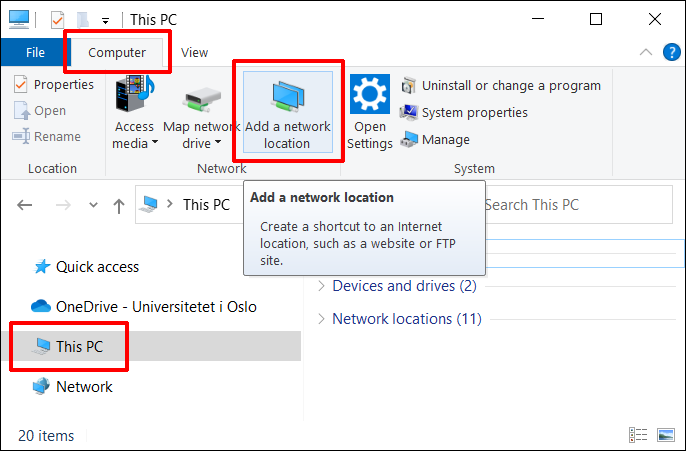
Start File Explorer / This PC from the Windows Start Button. Tap This PC in the left part of the window and then Add a network location in the Computer tab of the toolbar at the top of the window.
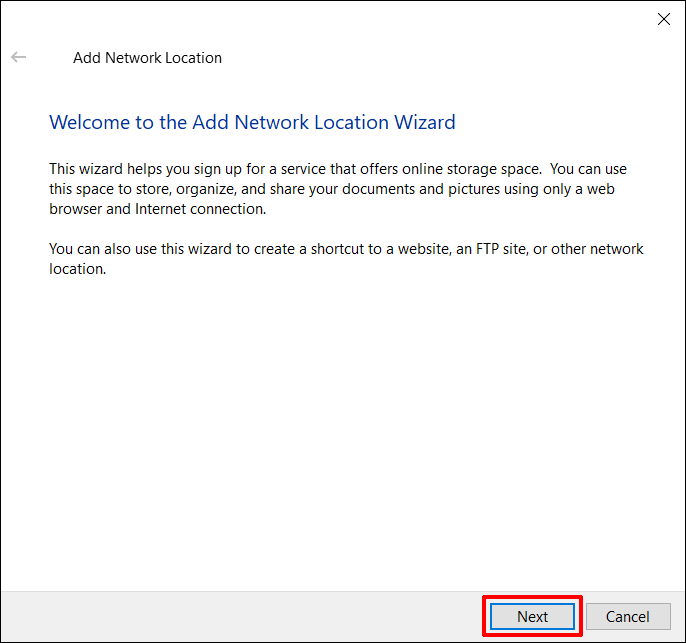
This starts the tutorial and in the first image press Next.
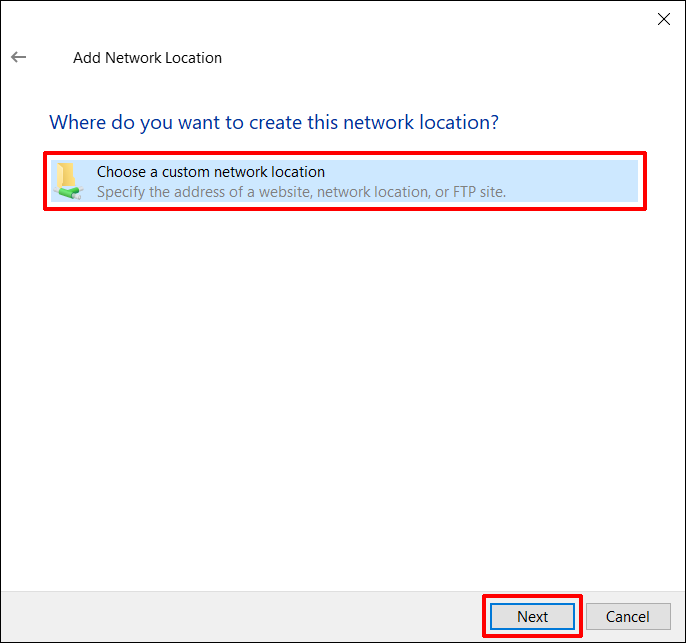
In the next window, make sure Choose a custom network location is selected (in most cases this is the only option) and press Next.
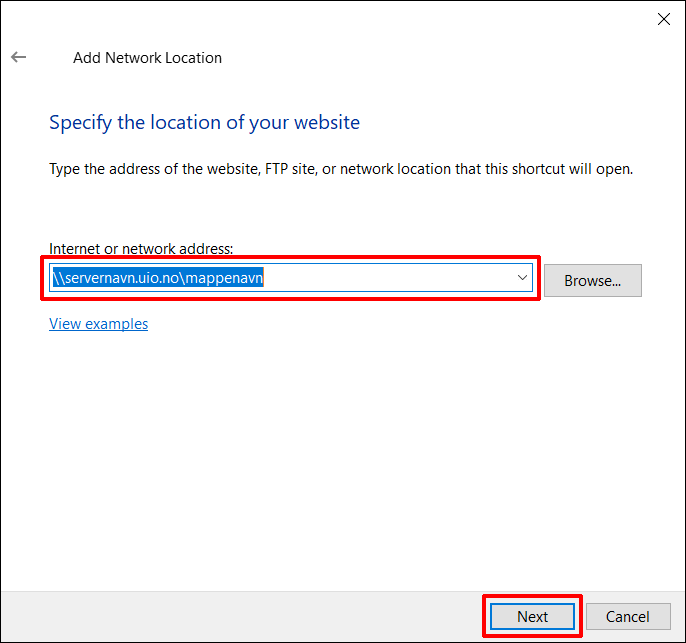
Now you need to enter the address of the shared area you want to connect. It must be written in the form \\servername.uio.no\foldername. Press Next.
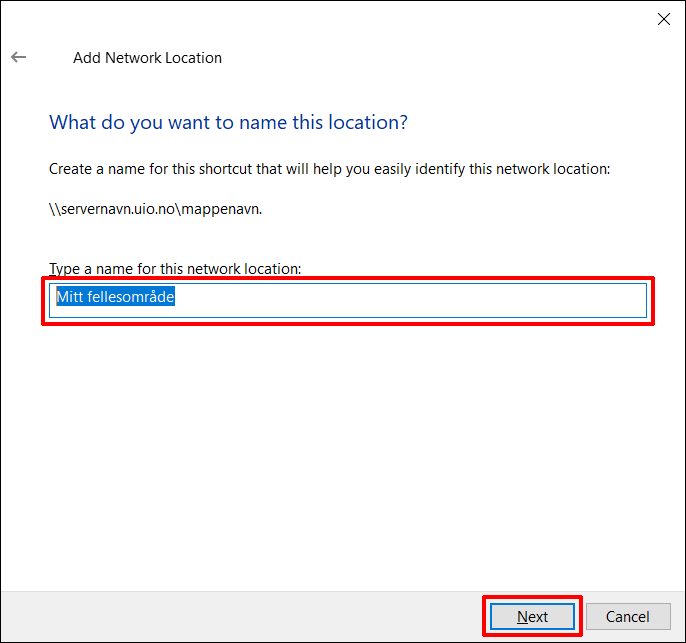
Then you need to give the connection an appropriate name. You may want to choose something that says something about the content of the shared area. Press Next.
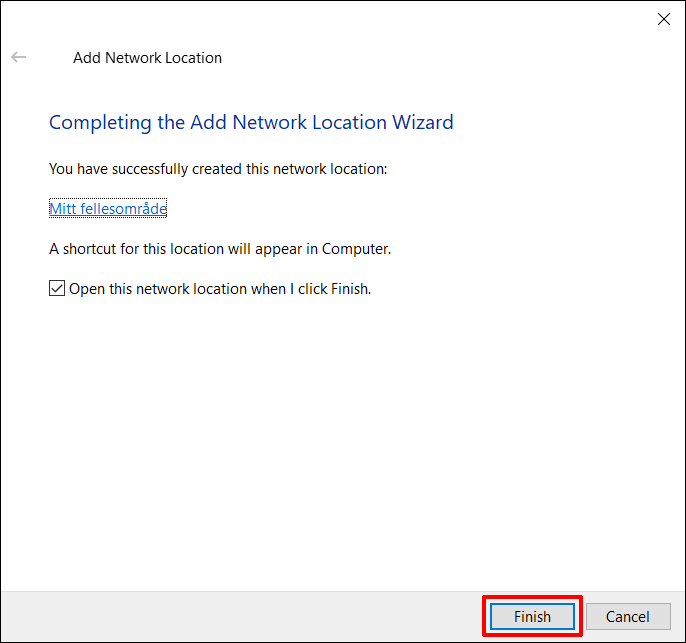
The connection to the shared area is complete and you can press Finish.
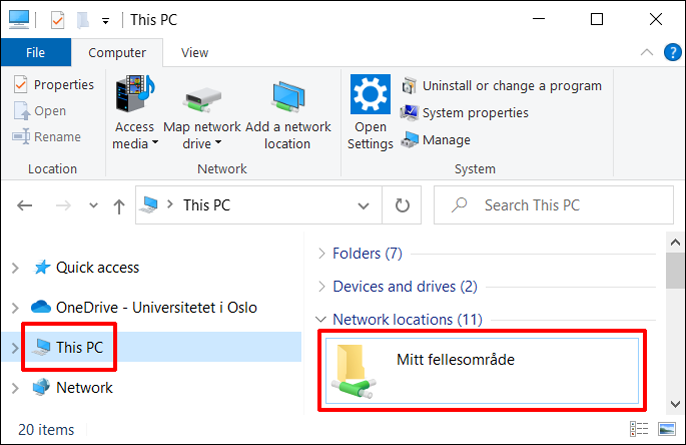
The public area is available under Network Location when you tap This PC in the file explorer.
Important!
We do not recommend connecting public areas to drive letters in Windows. If your computer becomes infected with a ransomware virus, it can quickly find these areas and potentially destroy all data.
Instead, common areas should be connected as shortcuts or network areas without station letters. Such connections are more difficult to find for this type of virus.
If you have such a connection, you can right-click on it and select Disconnect or Delete.