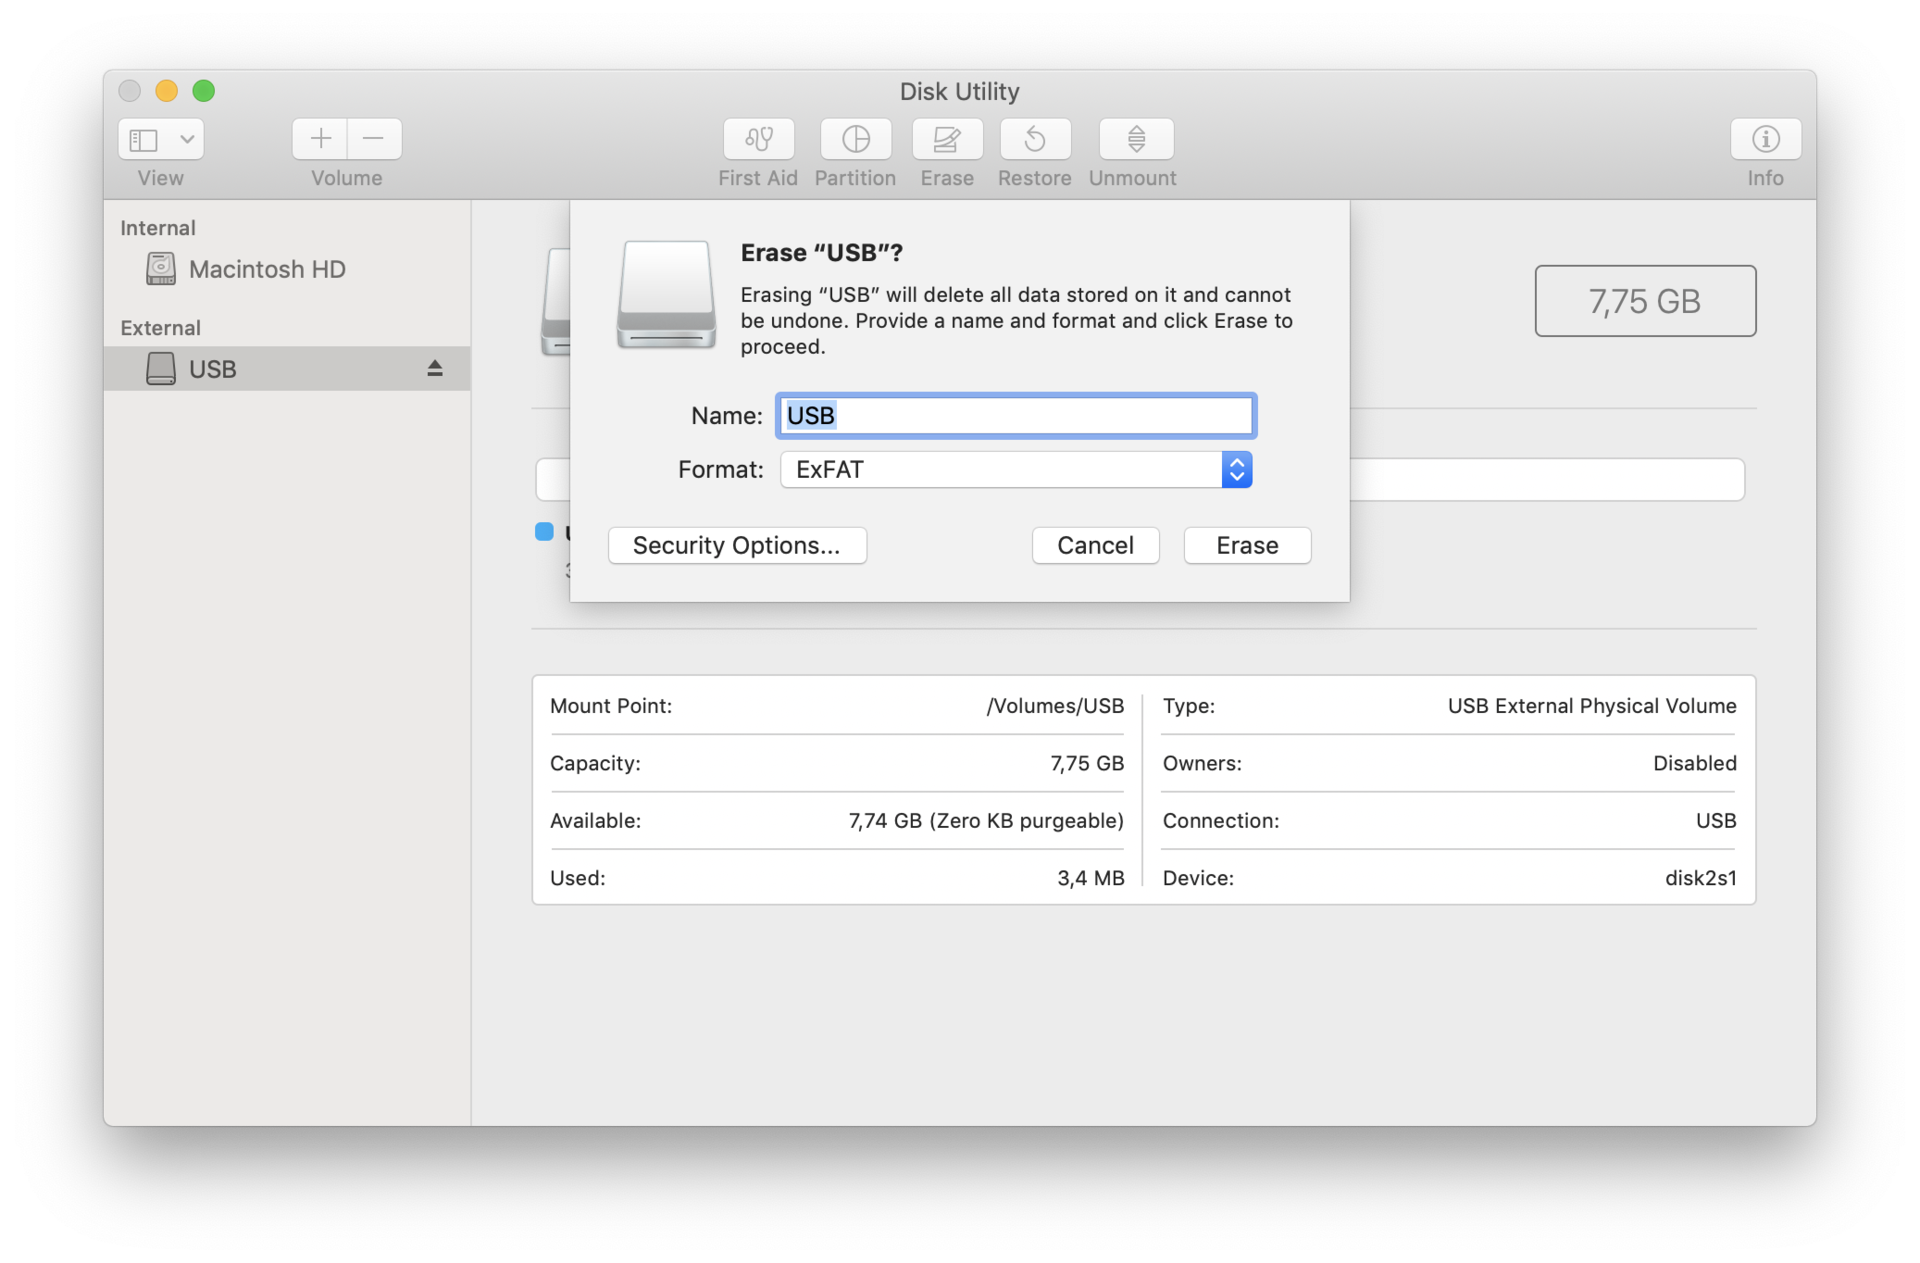
Insert the memory stick into an available USB port and start a new Finder window. Choose Applications, then subsequently Utilities and Disk Utility. Select Erase from the menu above and ensure that ExFat is chosen as the file format.
Computers with macOS do initially not support encryption of memory sticks, thus a suitable application is needed. The University of Oslo recommends the free application "Cryptomator" that can be downloaded from the website mentioned below:
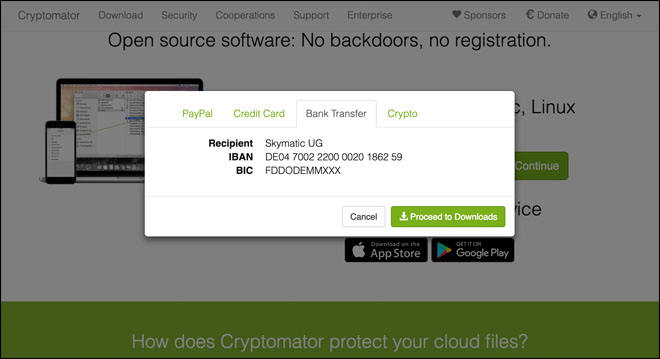
Press the green button named Continue on the Cryptomator website, choose the banner Bank Transfer and then Proceed to Downloads:
Press Download on the website and double click the dmg file upon download completion:
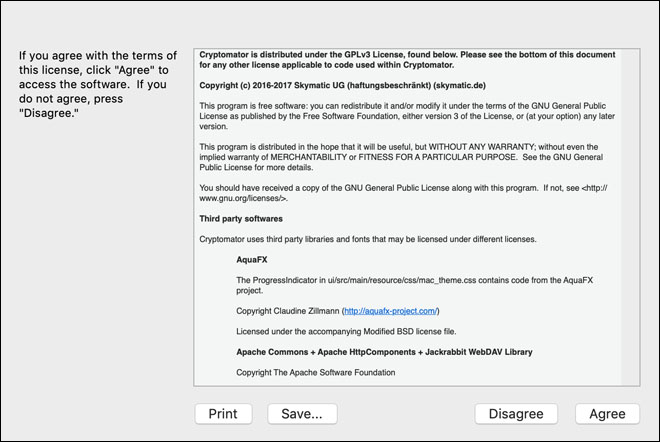
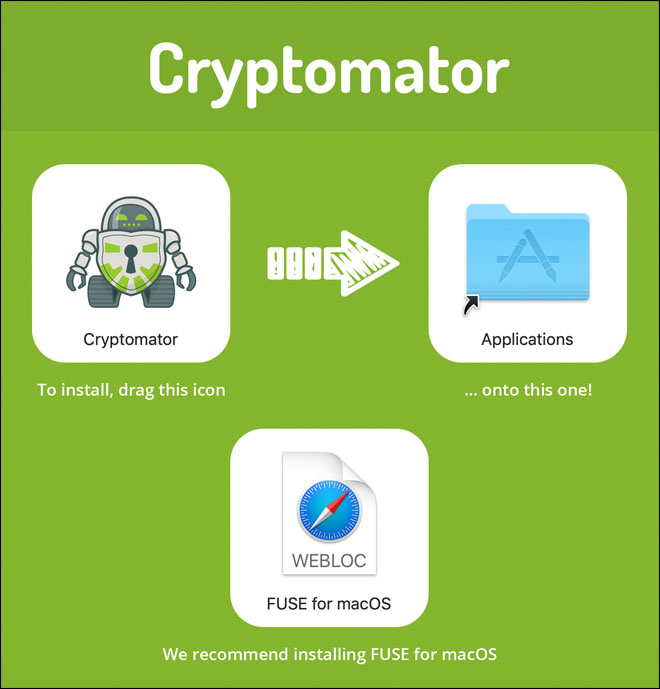
Press Agree and then drag and drop the Cryptomator icon to the Applications folder:
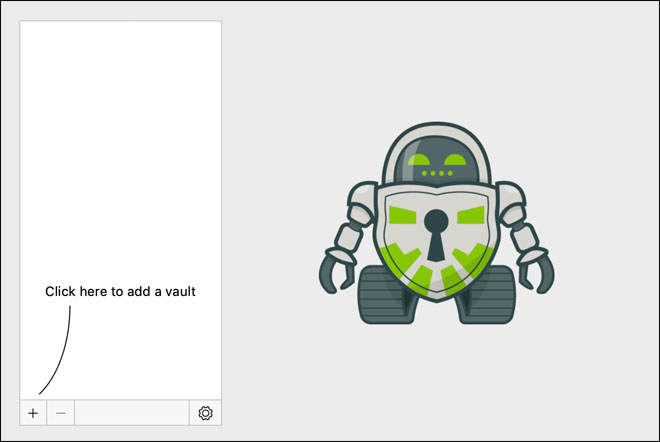
Start the application and press the plus sign located in the lower left corner and choose Create New Vault:
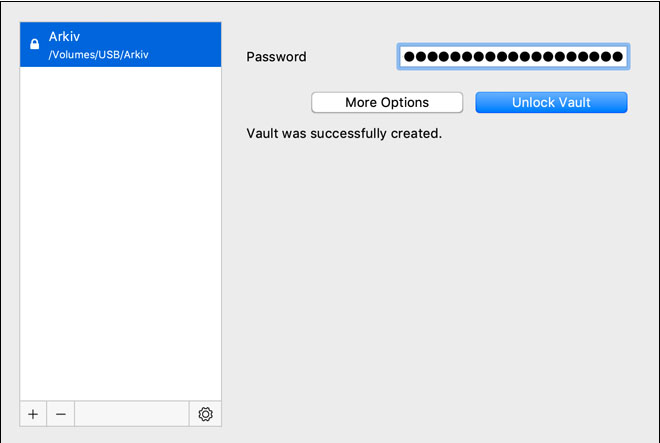
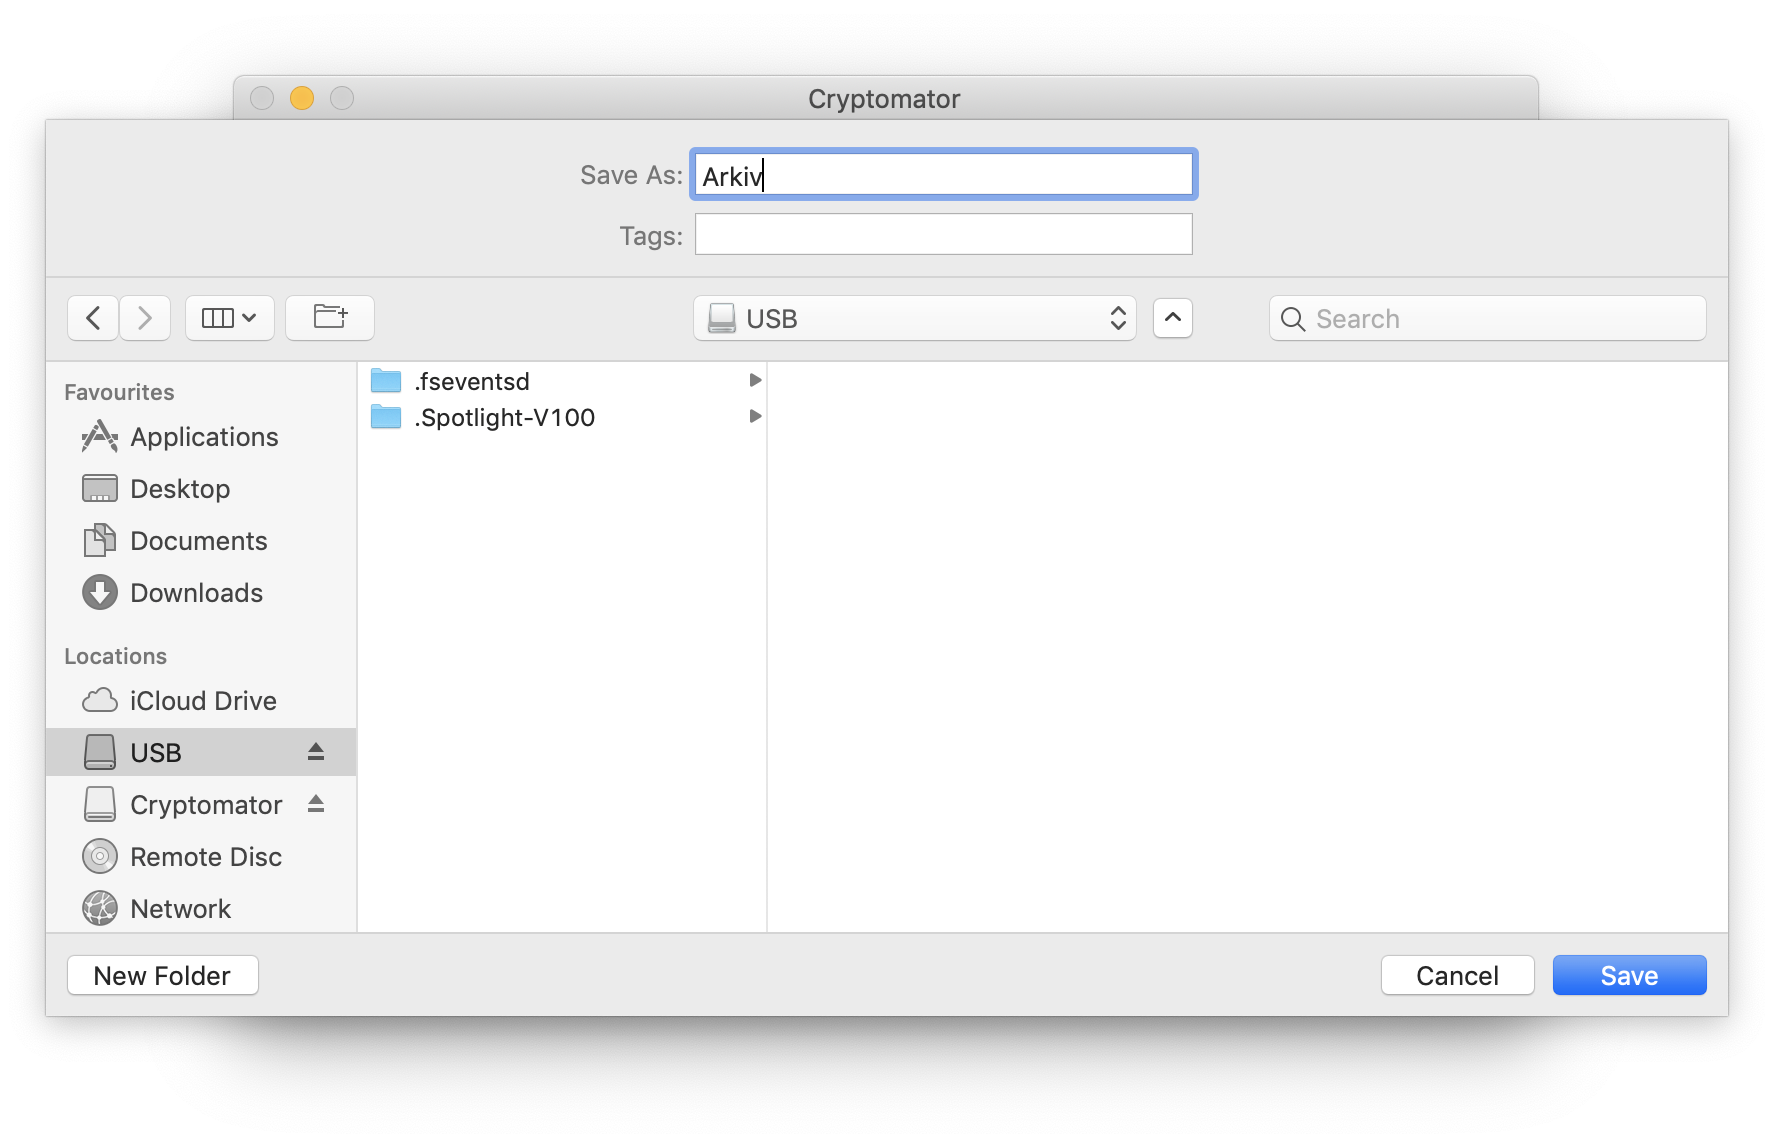
Then choose the memory stick in the left hand side of the windows that will appear. The name of the memory stick depends on what was chosen during formatting, which was explained earlier in this tutorial. In this case, it's name is USB. You must also specify a name for the archive itself in the uppermost field (Save as). In this instance, the name we've chosen is Arkiv.
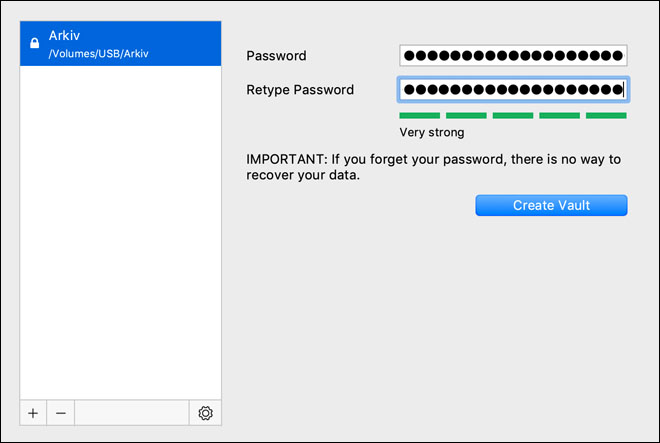
Choose a strong password that is known only by yourself. If you forget this password the IT section is unable to retrieve the content from the memory stick.
Finally, you must enter the password that was just created in order to open and decrypt the vault.